|
It's May 2005 and this job has been over our heads for about two years now and it was time to get to work. When we bought
this place we found that the floor in this room was really rotted and sinking in the corner. The floor appeared to be oringinal,
but after talking to the PO we realized that the floor had been completely replaced about 50 years ago. The original floors
had been timber joists placed in the brick walls with probably poplar floors as in the other rooms upstairs. This
floor though, was a mishmash of wood from the first 12 in. wide cherry or poplar boards to 5 in. yellow
pine. As hard as we tried to save the wood, it shattered into pieces and was worthless. Once we removed the bad corner section
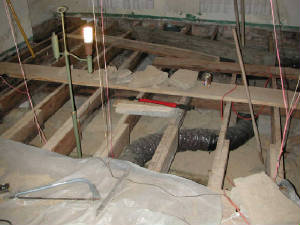
we realized all would have to come out because there was standing water in the 2ft. deep crawlspace. As much as
I like trees, they should never be close to a dry laid foundation. The PO 's family made the huge mistake of planting a white
pine years ago about five feet away from the corner and it had grown through the walls, buckled the foundation and roots
were growing through the crawlspace! You could see where water had actually run through the area. The tree was removed and
the outside area regraded and the floor was left open. Now the corner of the house needed some serious work and the floor
joists needed a bit of help. And the roots needed to dry up so they could be removed.
I know 2 years is a long time, but with the addtion work and three bedrooms in the old house to restore , it wasn't like
there was nothing to do. In fact there was a bit of burn out. We have been very unlucky in finding anyone who wants to work
on an old house of this type. Realizing we were going to do the work ourselves we did a thing we call
reverse engineering. Piers were built and they supported joists which stabilized the floor joists. This doesn't sound hard,
but the whole job involved working stepping over a joist for each step you took. Digging involved working around loads of
rocks under the floor and trying to keep dirt from falling back in the hole.. When it was finally done it felt lots sturdier
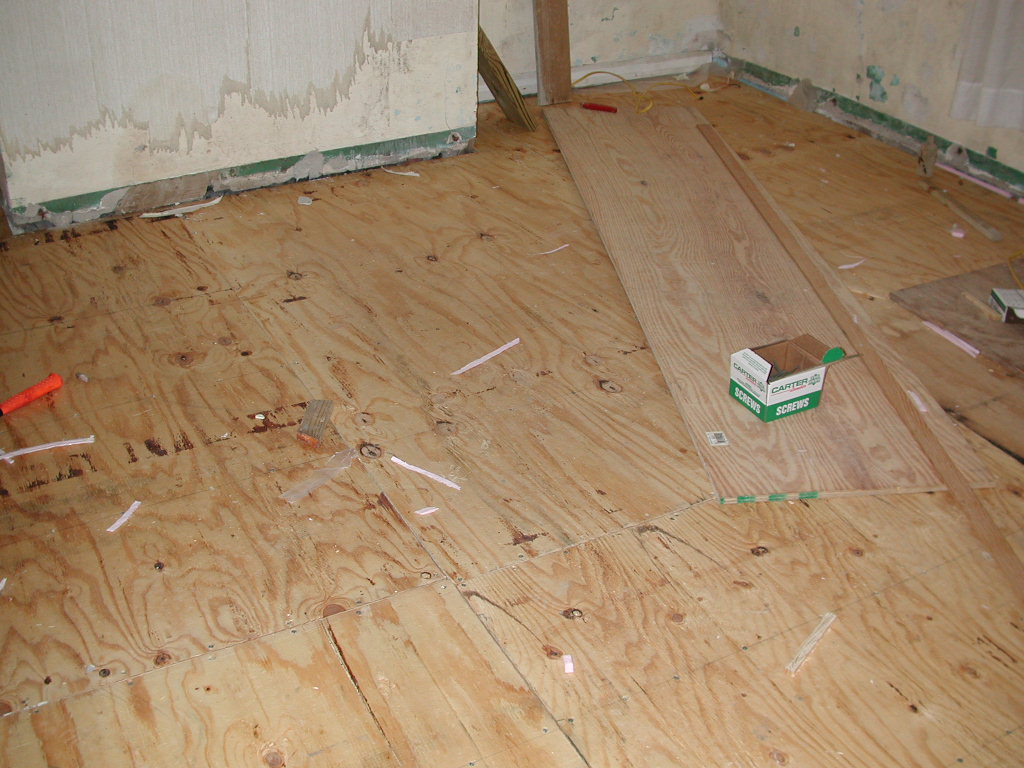
and with the addition of a few sistered joists, we had the makings of a good floor. Gravel was carried in by buckets and spread.
Also a good vapor barrier was installed and what a difference. The subfloor was added and now for the first time in a long
time, we could safely walk in the room!
We are on hold for the hardwood right now waiting for our wood guru to get back to us.
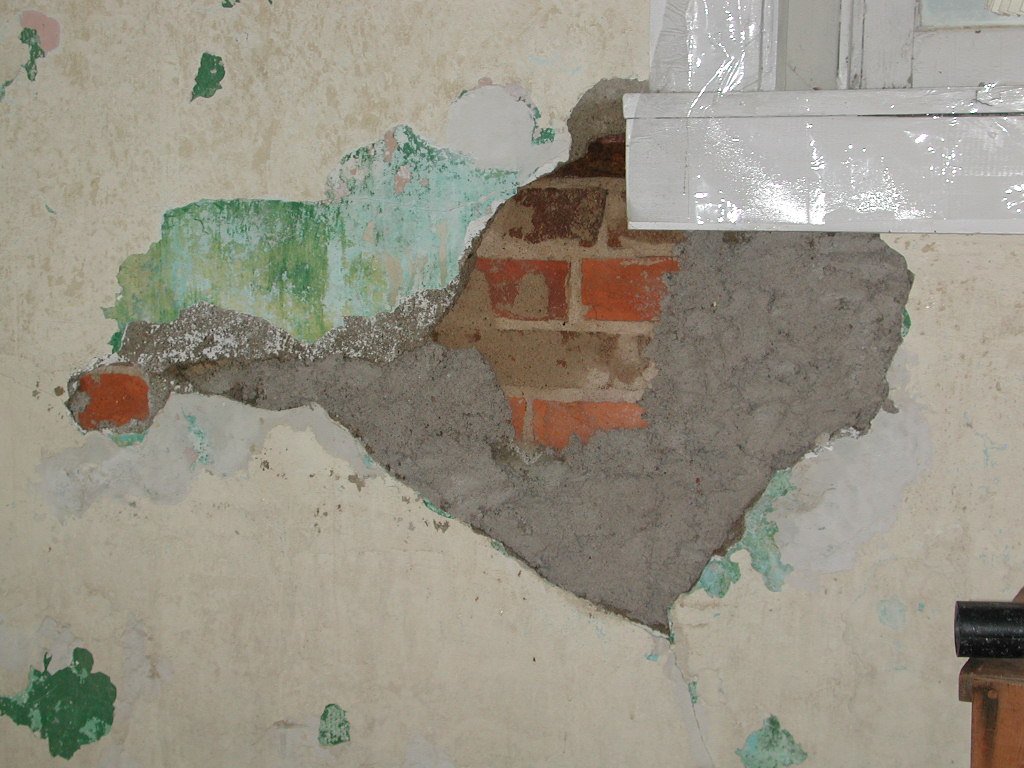
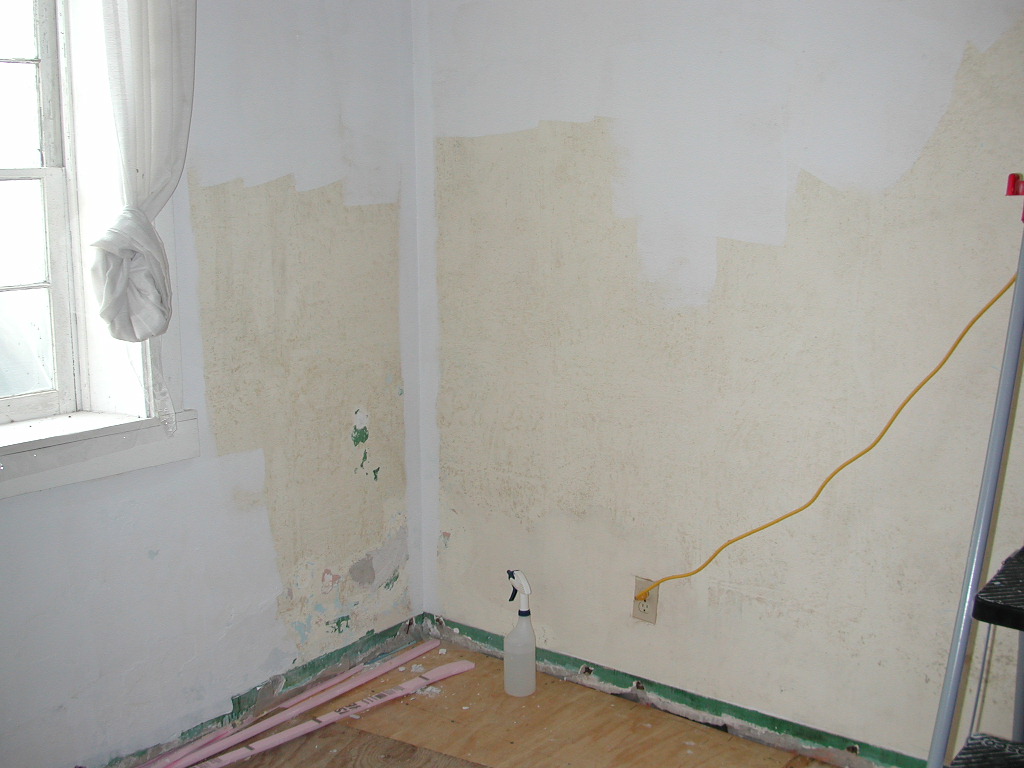
There was still the job of scraping off the nasty wallpaper and then cleaning the plaster walls. That took several days
and I have to admit, I hated it but it's done now. Also bad spots in the plaster must now be fixed. It was years of botched
repairs using the wrong materials. Now we are going to try to do the plaster repairs ourselves.
Well, the first plastering patch job was a flop. Second try is looking better. For now I'll prime areas around the patches
and come back later.
Two days later and the second coat is on and holding!
I had to try the color I chose for the walls so I went ahead and painted around the patches. I do things backwards all
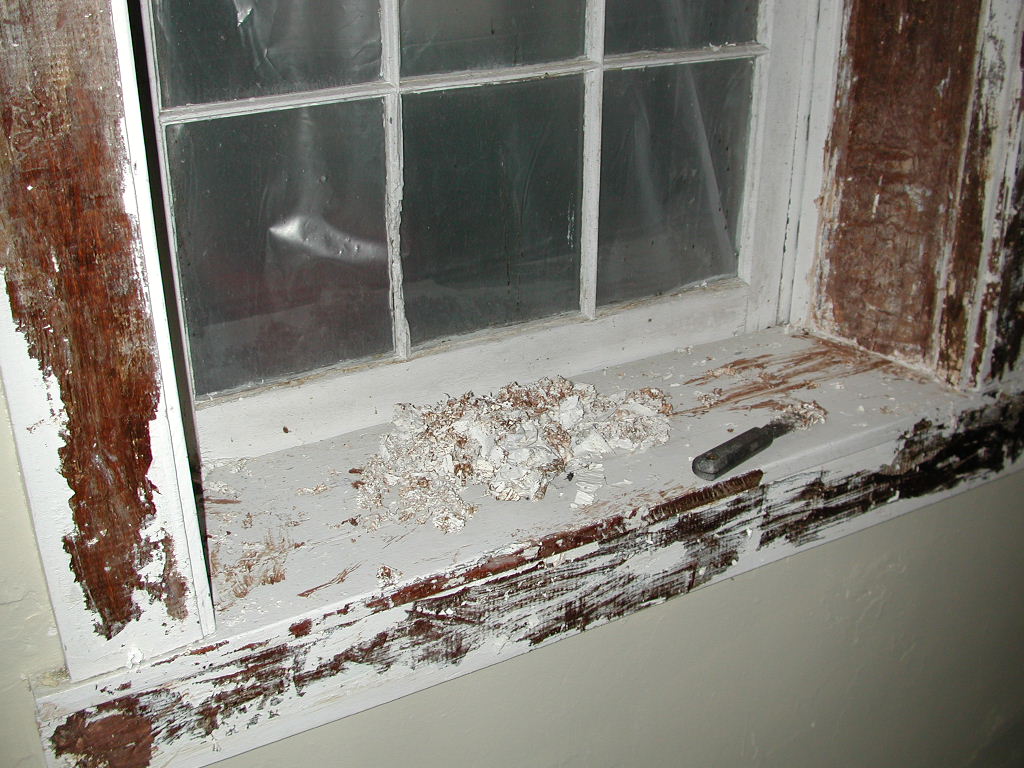
the time so what's the big deal. I like the wall color a lot but the color for the trim looks awful , so I thought I'd strip
the paint just to make sure. There were two layers of paint and they came off easily but I ran out of stripper. The wood is
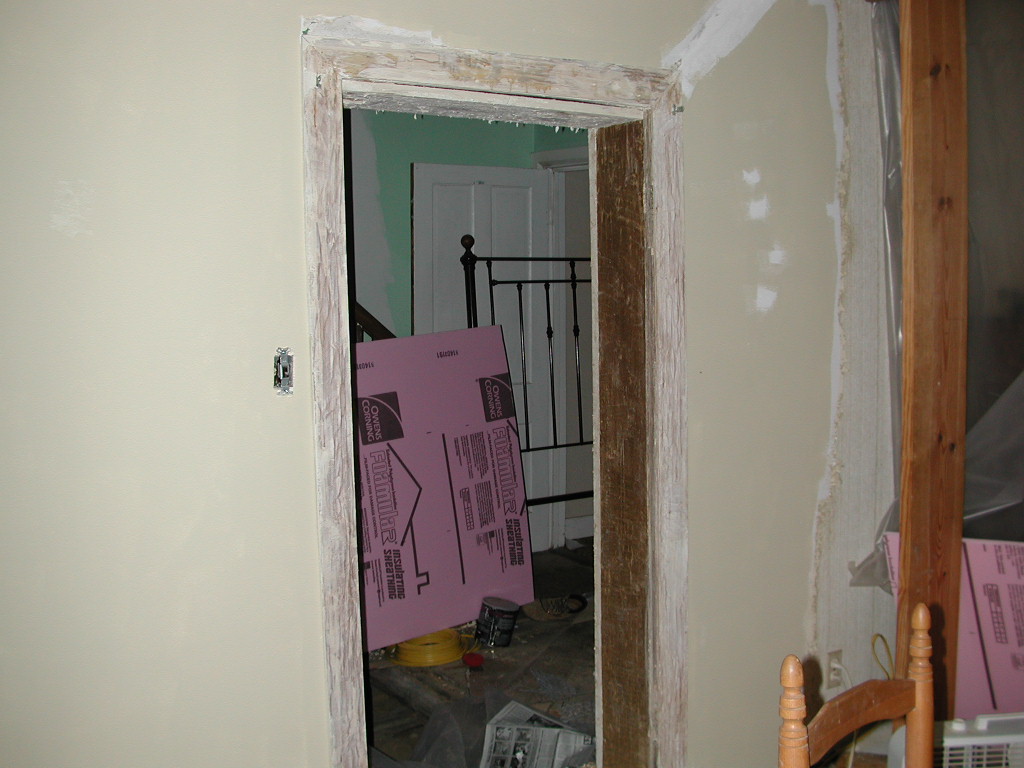
very attractive and it's a shame someone would even paint them. I also stripped the door frame which doesn't seem to be the
same wood but hopefully will stain nicely.
| Hole in wall |
|
| This plaster was a mess. |
| First coat |
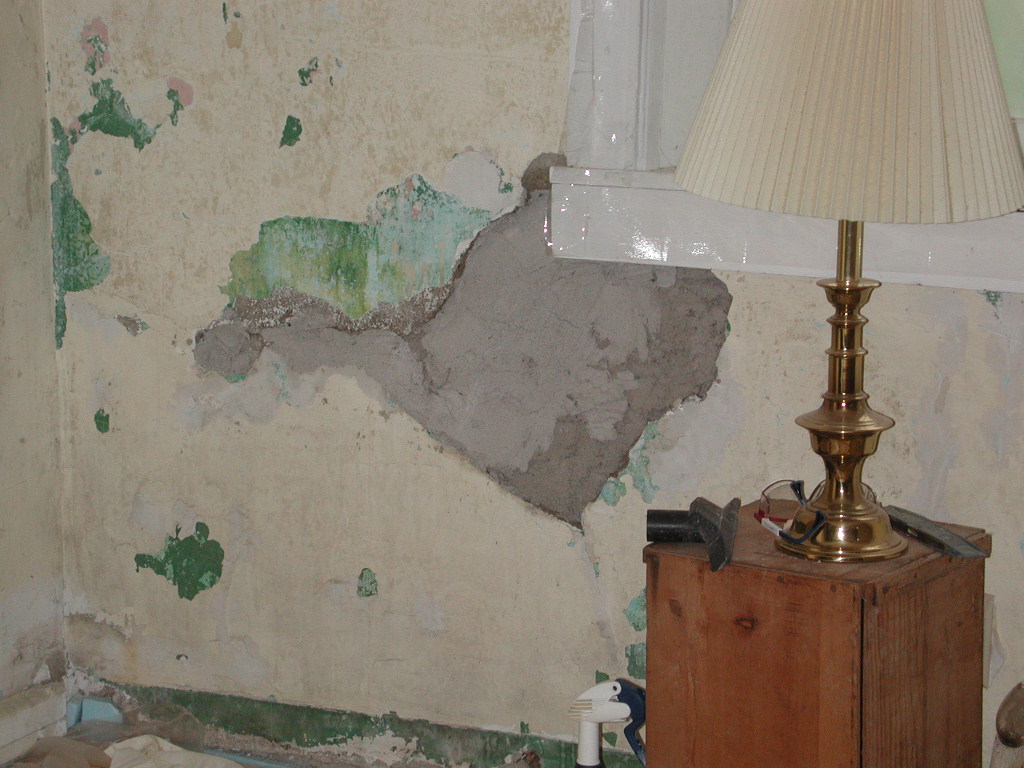
|
| This coat is holding |
| Painting primer |
|
| Primer vs the old paint |
| Testing the new color |

|
| Hopefully this color will work |
| Window trim |
|
| Stripping the layers of paint |
| Almost finished |
|
| I really like the look |
| Stripping door trim |
|
| Nothing special |
It's been a few weeks since we worked on this room. Mainly because the floor was on order. Also because we started another
project, building a small barn. The floor should be in at the end of July. Some ceiling and wall patchwork has been done
and is ready for primer.
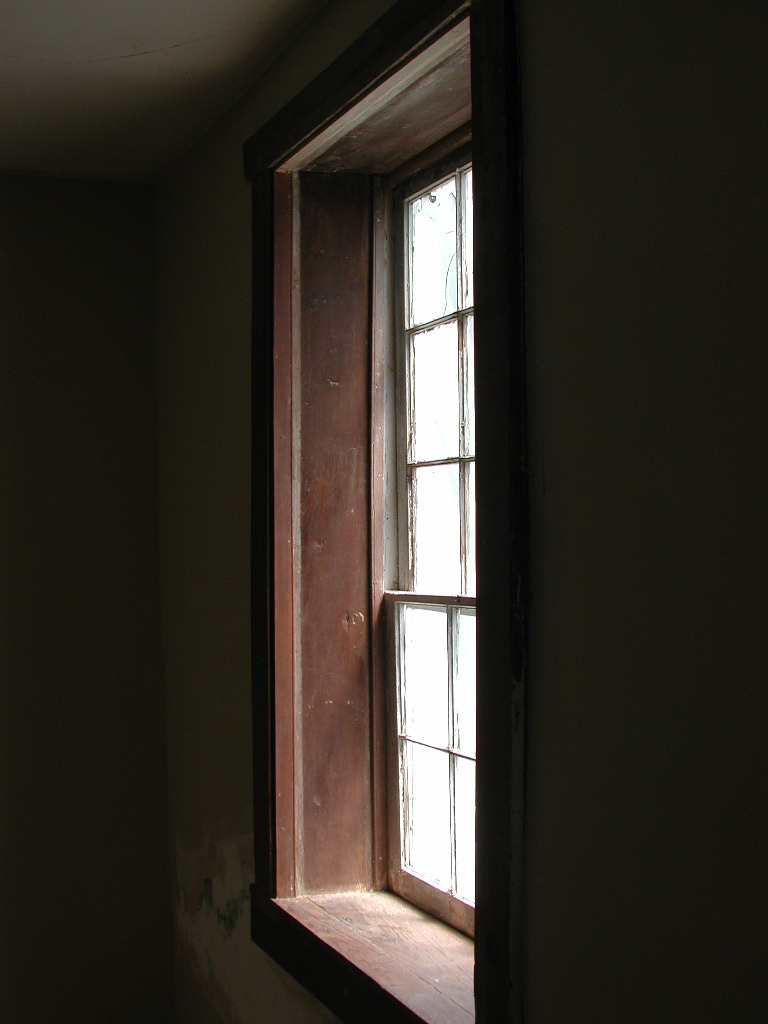
The big concern now is the windows. They are in such poor shape I don't think it's really worth it to restore them. For
one, I don't think they are original. They're old but they have had wood added to the sides to make them fit. So much
damage had been done to the muntins, by the time they would be finished, they would be more epoxy than wood. I will at least
try to restore these two windows, but now I'm looking to try and make some. I honestly am sick of trying to deal with contractors
or even trying to find someone who wants to work on this house. No one in this area seems interested in woodworking or old
houses. They all want the big jobs and with all the cheapest materials. I could go on and on..... I'd love to hear from anyone
with experience making their windows.
Oct. 2005
I know it's been a while since we worked on this room but our barn project went a bit out of control. It mushroomed into
a much larger project than we thought and while we had the weather and time, we devoted ourselves to working on it. Also we
couldn't reach our flooring guy for some time. We have had the flooring for a short time and this week worked on it after
work. It took more time because of the tight working space. There has been a bit of a hurry since we are hosting an afternoon
of visitors from each coast in town for a big birthday party. There is no way we'll be done but hopefully have the room looking
presentable.
The flooring went done easily with the help of power tools , courtesy of our neighbor (and some beer).
| Poplar flooring |
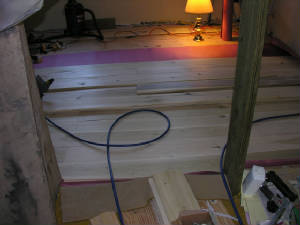
|
| Power tools help a lot! |
Our golden Abbey, has been part of the construction process since our last house. She was just a puppy and found building
something quite to her liking. My first try at a hardwood floor had her in the middle of it almost all the time. I tried to
be a perfectionist when it was time to seal it. I had sealed my way to the dining room door and was ready to walk
out. The doorway was covered with plastic and the dog gate was up. I turned to look at the pretty job and the "flash" caught
my eye. Abbey had shot past me and was standing at the back door all the way across the room. I managed to call her back to
me. I'm sure she knew how mad I was because even though I wanted to throw her out I just reached for her but she dodged me
and slipped on the sealer and went down, jumped up and ran out covered on one side! I couldn't help but just stand there and
laugh. To this day I no longer worry so much and the floors continue to look good.
| My helper |
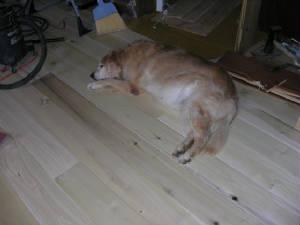
|
| Abbey can't miss out on a new floor! |
The stain took five coats to get the right color. The test pieces only took three...go figure! Minwax cherry stain
and Polyurethane oilbase Pro Sealer from Home Desperado....Depot. It holds up well to traffic and pets.
| Boards stained and sealed |
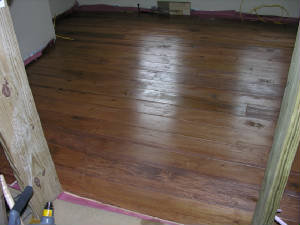
|
| Color was chosen to match cabinets |
Nov.
The deadline for the party was near and even though one more coat of sealer was needed, it would have to wait while things
were straightened up for the onslaught.
A few pieces of furniture were brought in just to show how it could look. The windows were stuffed with newspaper and
even a few rags which was a real nice touch. The baseboard was one that had been found in the barn, thought to maybe
have come out of the house. We had a few more but just stood the one up to give the idea of what it will look like.
| Some furniture for effect |
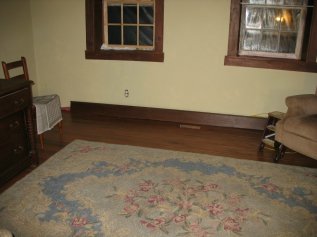
|
| We wanted to show somewhat of a decorated room |
The party went off with out a hitch. I have been able to finish the floor so now on with electric, baseboards, cabinets,
paint, new windows....yikes, I thought I was almost done!!!
|